Creative at home. Who doesn't know them? The toy cars from Matchbox and others. They make children's eyes shine and conjure up a big grin on the faces of grown-up children too. Especially when they decorate their own car keys as key rings. I will show you here step by step how to make a great key ring from a toy car in 5 steps. But it's best to make several: one for yourself and some to give away. Have fun and a good success!
Unsolicited, unpaid advertising.
DIY Instruction in 5 Steps
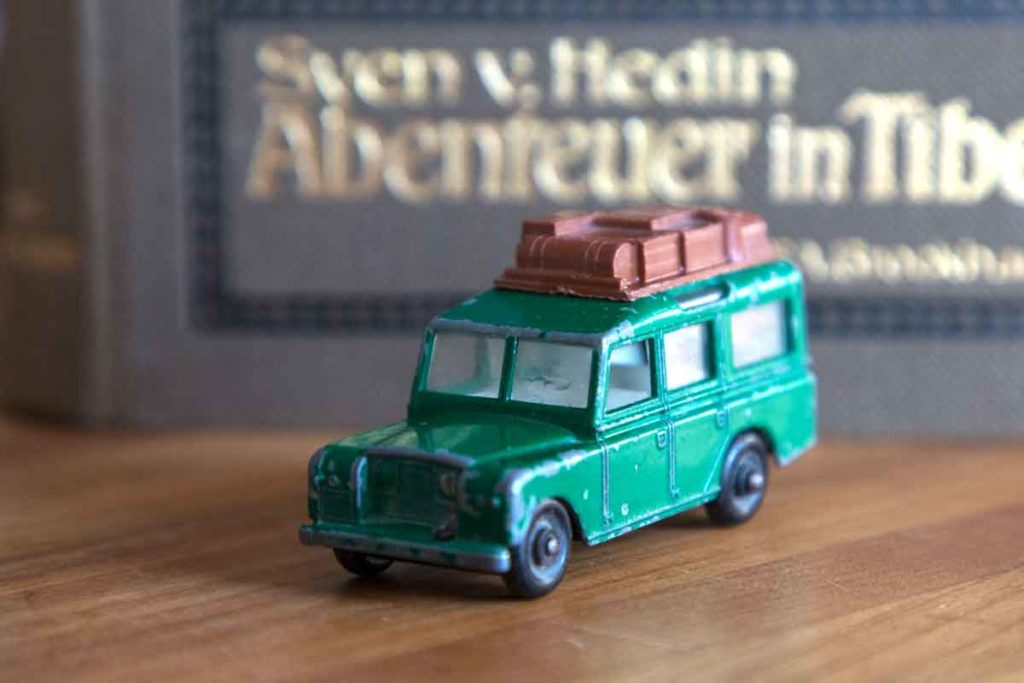
Step 1: Get the right toy car
First you need a suitable car. Maybe you will find one in the toy box of your kids. If not, then you're sure to find the right toy car for your key ring on ebay .
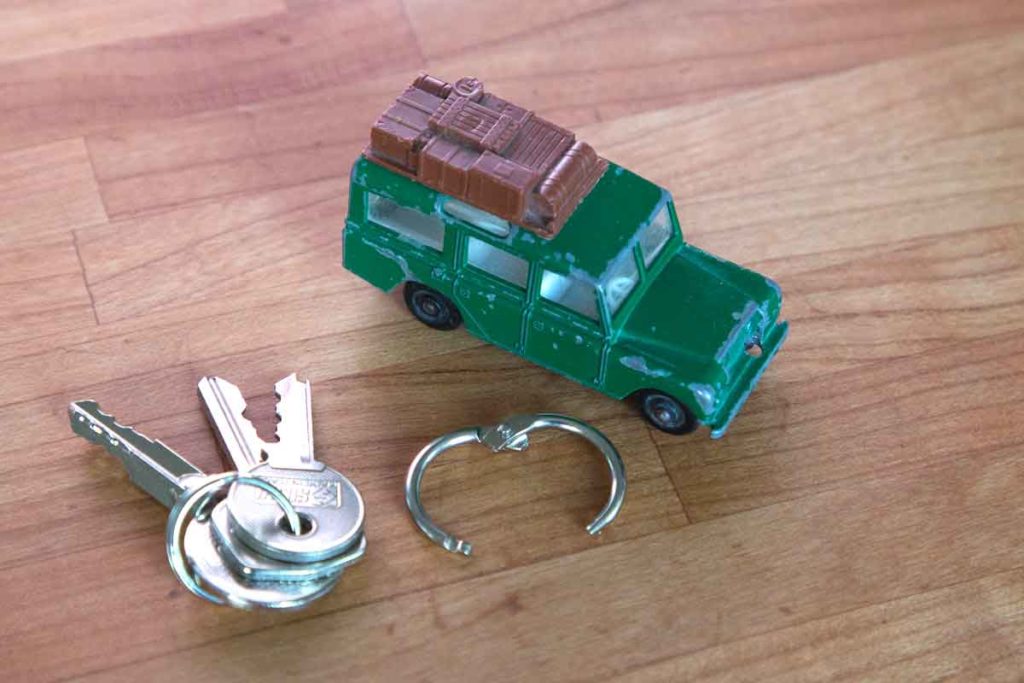
Step 2: Some preparation
These include: Sure, the bunch of keys and the car. In addition, you will need a flip-up key ring and a drill with a metal bit. I used the diameter 2.5 millimeter here.
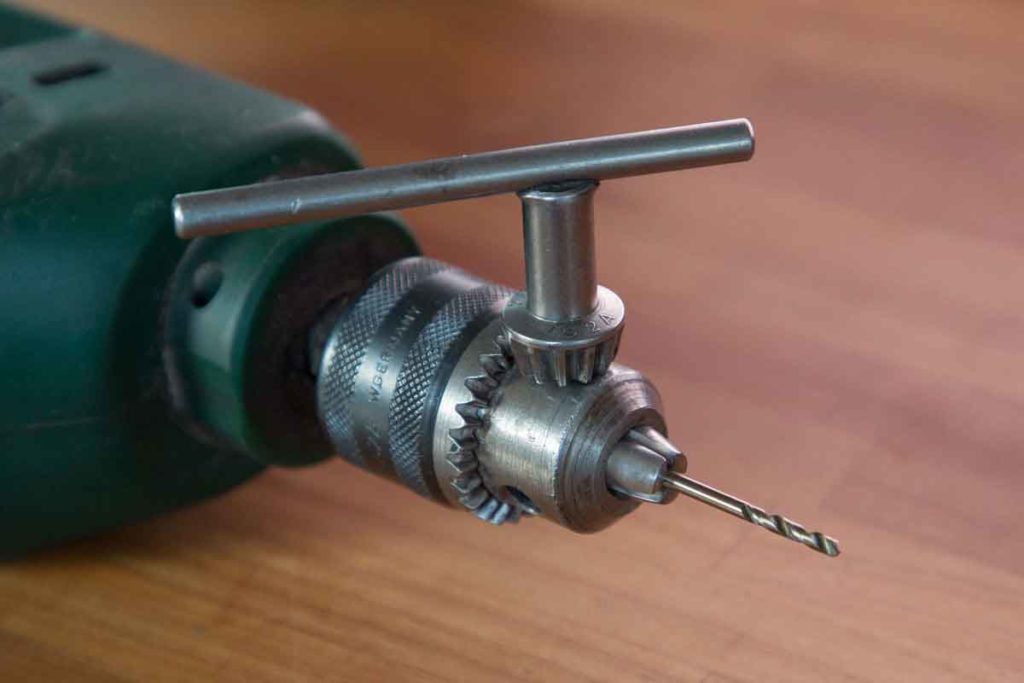
Step 3: More preparation
Now you have to get the drill ready. Make sure that the drill bit is sitting nice and straight when you clamp it. Especially the thin drills get crooked quickly when tightened.
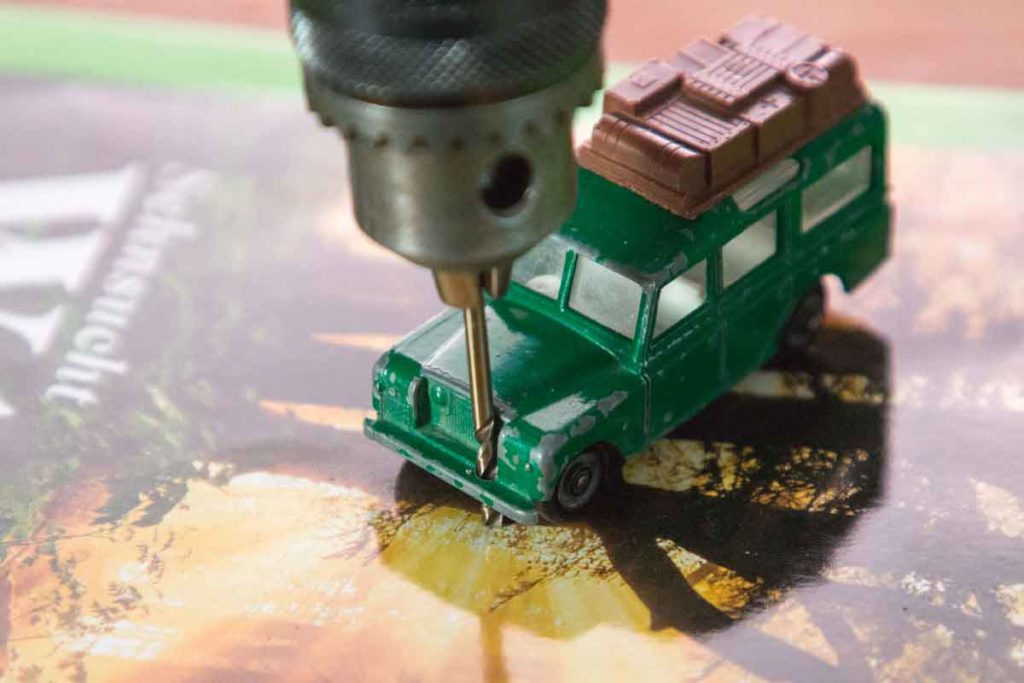
Step 4: Here we go!
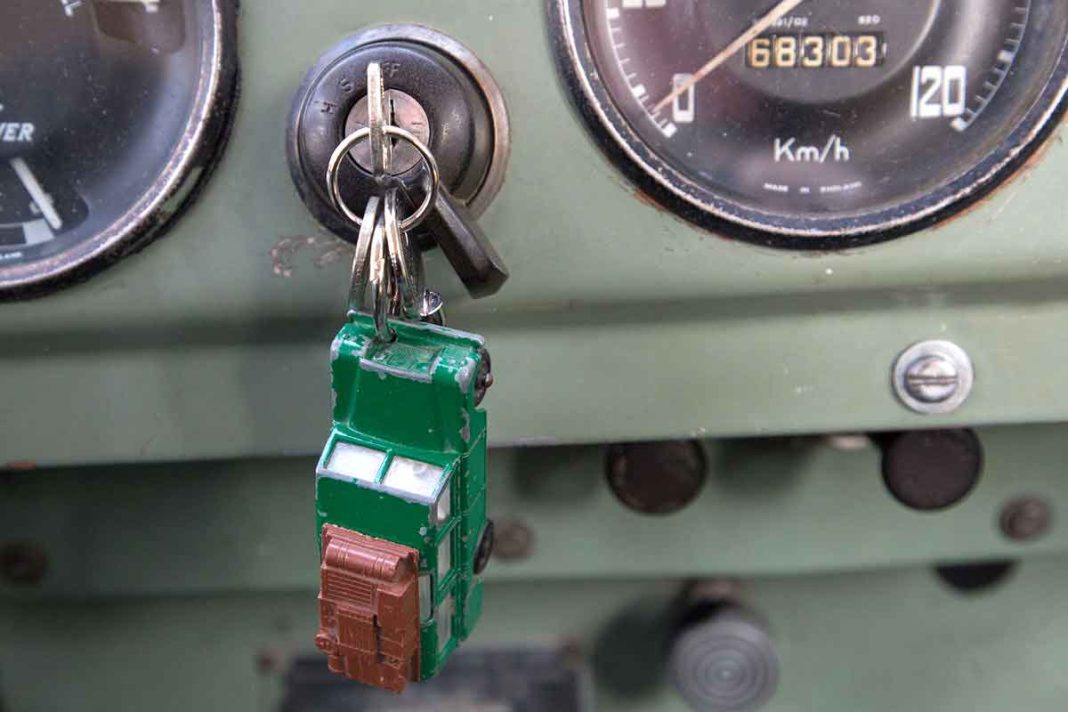
Now it is all about finding a suitable place at the car. For example, if it hangs out of the ignition as a key (yes, there are still cars with real keys), I like it when the hood is up. And then: put a pad underneath, hold the car and let's go.
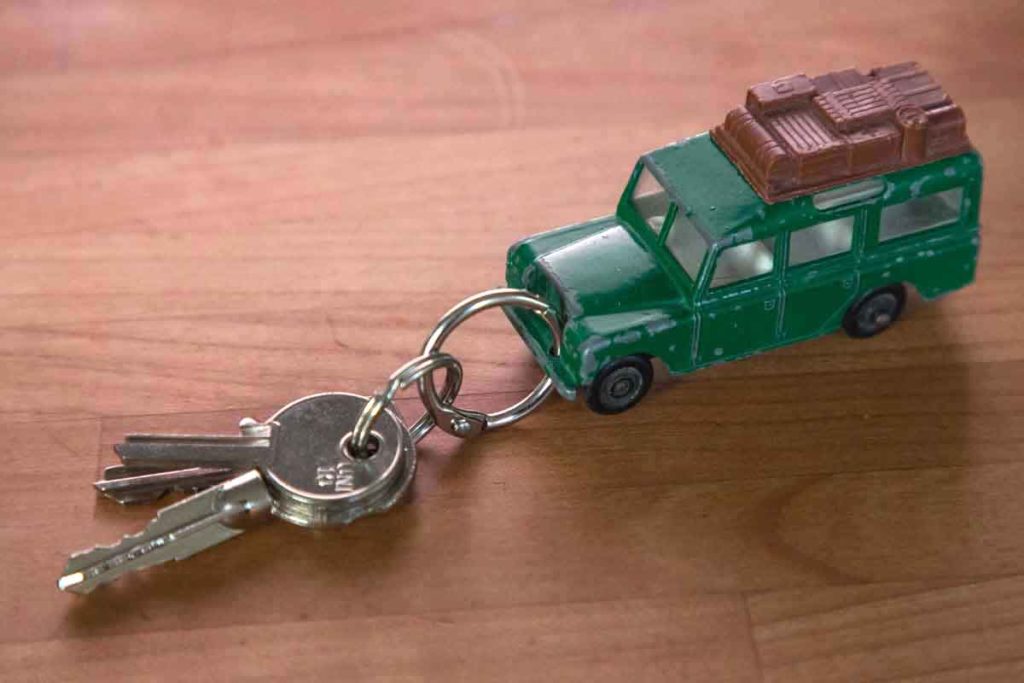
Step 5: Done!
Blow away drilling dust, thread the key ring into the toy car and the key ring is ready!
Have fun with it! Or enjoy giving it as a gift to somebody!
Have you tried out my instructions and made a key ring from a toy car? For yourselves or as a present? Do you have any comments on my article? If so, please write me a comment!







I love this! I’m thinking about buying a van so now I will have to also buy a toy van. Thanks for the tips!
Great! That will be a perfect welcome gift for your new van!